Pages

November 14, 2014

Silky Soft Play Dough

No cook, 2 ingredient dough. 

You need:

  • 1 part conditioner
  • 2 parts corn starch
  • food color (optional)

Directions:

  1. Mix together the conditioner and corn starch. Add more or less for each ingredient to achieve the desired consistency.
  2. After the dough is formed some separate the dough  for each color you like to make
  3. Add the color and knead the dough until the dough is fully colored.


Our experience:

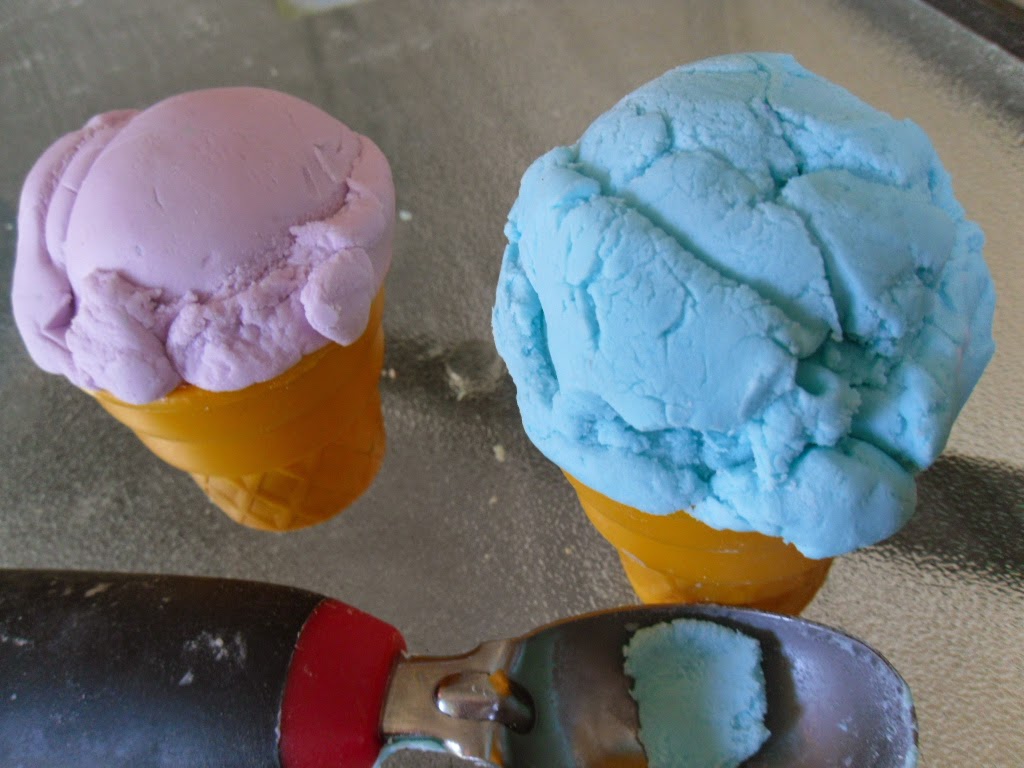
I had a hard time getting it to the right consistency.It ended up being dry and sticky at the same time. It reminded me of Moon Dough  but when we placed it down on the table and then went to pick it up i would stick. Using cookie cutters didn't work well with this dough. It flaked a lot like the Ice Cream play dough we made but it wasn't a big deal it swept up fine. It was very soft and smelled wonderful. Left our hands soft as can be. At first i thought i didn't like it but i changed my mind as we continued to explore the dough. It wasn't what i had expected but Haven enjoyed it and it kept his attention quite a while...for a toddler that is.


November 13, 2014

Color Sorting Activity For Toddlers

This is his proud face


You Need:

  • An assortment for colored objects ( We used foam shapes we found at the Dollar Tree and the dollar bin at Target)
  • Contraction paper (Dollar Tree)
  • Tape 
  • Pen


Directions:

  1. over lap the sheets of paper to make columns to sort the shapes
  2. Tape the sheets to your work space
  3. label the sheets there proper colors
  4. Sort with your child.

Our Experience:

Haven was a ball of energy today! What made this activity work was patience. He was bouncing every where but he was doing it. After i saw he knew what he was doing I'd put he shaped on the wrong color and ask "Does it go here?. He'd tilt his little head and answer "Noooo." and move it to the correct spot.  He also enjoyed reversing the roles and asking me " Here?", and I'd say "Nooo." Then he'd move it to the correct spot. It was a fun and simple activity that we both enjoyed.


November 7, 2014

DIY Moon Sand ( 2 ingredient)


You need:

  • 4 cups flour
  • 1/2 cup baby oil
  • container (we used the lid off a sheet cake) 

Directions:

  1. Add flour to your container
  2. Drizzle oil evenly over flour.
  3. Knead the oil into the flour with your hands until the all the flour is completely coated

Our Experience:

Why haven't i done this sooner it was so fun. I love playing in sand and so do the littles. It was super quick the throw together and super fun. Haven enjoyed it lots also hahaha. It was pretty messy though. We were covered in white when we were finished. I wouldn't do it in a carpeted area or near upholstery because even tho the flour can be easily vacuumed the oil might stain. 


November 4, 2014

Toilet Paper Roll Monsters


You Need:

  • Toilet paper rolls
  • Tempera paint
  • Pipe cleaners
  • Googly eyes
  • Tissue paper
  • School glue 
  • Shish kabob skewer (or something similar to make holes in the toilet paper rolls)

Directions:

  1. Paint the toilet paper rolls and let them dry. 
  2. Take the skewer and poke two holes on each side of the Toilet paper roll.
  3. Put the pipe cleaner in a hole and feed it though the second hole.
  4. Make loops at each end of the pipe cleaner and twist to make hands.
  5. Glue on the number of eyes you want.
  6. Bunch up tissue paper and put into the top of the toilet paper roll to make hair.
  7. Add a little glue inside the role to fasten the tissues paper to the toilet paper roll.

Our Experience:

This was easy and fun. After we made them we plays monsters together. Roar, roar. It was a good time, even tho the eyes kept falling off. Haydynn was a little smarty and was the only one to paint eyes on hers under the googly eyes.


October 30, 2014

Ice Cream Playdough


 I originally found the recipe for Ice playdough at Smart School House. There they have the exact recipe of how to make it but i left winged it. I'm going to tell you how i did it.

You need:

  • Frosting
  • Powered sugar
  • Food coloring 
  • Mixing bowl

Directions: 

  1. Put Frosting in to mixing bowl
  2. Add food color
  3. Stir
  4. Add about a cup of powdered sugar
  5. mix. Its going to start getting thick.
  6. Add more sugar into the dough and knead it in. In the original recipe she used a mixer with a dough hook attachment but i don't have that so i used my hands. 
  7. You'll want to add powdered sugar until the dough is soft but not sticky.  You'll use about 2 3/4 cups of sugar for a cup of frosting. I didn't measure because was to much works, so i just eye balled it.
  8. Add a drizzle of oil if you added to much sugar or it begins to dry out  


Storage:

Store in a Ziploc bag in the refrigerator . Take out 30 mins before used to soften the dough before play.

Our Experience: 

Haven loved it! he like making ice cream out off it and just simply squishing it with his hands molding it and having fun with it.


For me though it was very messy. Maybe if it wasn't sugar i wouldn't of had a problem with the mess but we have ants. All I could think about was if i didn't clean this really well the ants would be every where and I'm out of Raid. It dried out pretty quickly and flaked of a lot. 
It  was fun and i do think its something you have to try at least once with your littles. I mean come on is playdough made out of frosting, that is kids two favorite things combined.


October 22, 2014

Mickey and Minnie Ears Headbands (Includes Variation For Baby)


I'm so excited about theses ears! I'm taking the  littles to Disneyland tomorrow, YAY. I wanted them to have something special to wear and i cant afford to buy Mickey ears at Disneyland to be honest. So i took to Pinerest and found this awesome tutorial from tutorial from The Suburban Mom on how she made Mickey ears for a birthday party. She has a Youtube video and everything there.

I spent $5 at Micheal's for materials (for 3 Sets of ears) and used some headbands i already had in a drawer. I'm pretty sure that beats what you'd pay at Disneyland.

I did everything exactly like she said to in her tutorial for the two bigger kids ear but went i got to the baby's I had to changes things up a bit. I still used her basic concept but i used a elastic headband for his.

For this one when I covered it with the felt i couldn't glue the felt to the headband because i needed the the headband to stretch freely. This part was tricky . I started in the middle of folded the felt over then tucked it as tight as i could and folded over the other side and glued the felt to the felt. I worked my way all the way around the band going a inch at a time creating a felt tube around the elastic band. I did not seal the ends for the felt tubes together. Instead i left the lose because u need ed elastic to stretch freely.

I measured the band before i started and the circumference of my babys head. His head was about a inch larger the the headband before stretched any. So i began to add pieces of felt in between the original ends of the felt tubing and stretching it to the size of my babys head so it wouldn't be tight on his little head all day long. Its not even noticeable once he's wearing it.


October 20, 2014

Colored Rice Sensory Activity

You Need:

WE used this paint (Walmart)
  • Rice (white rice will show the color better)
  • paint
  • Ziploc bag
  • water (just a little to thin paint)
  • Baking sheet
  • A large Tupperware (or something similar)  
  • Cups
  • little toys (we used cars)

Directions:

  1. Put rice in to Ziploc bag.
  2. Add add. Just a squirt. you can add more if you want a darker color.
  3. Add a little water, just a little you don't want to make it too water just thin it enough to coat all the rice.
  4. Zip and shake and knead the bag until rice is fully coated. This is where you can decide if you want to add more paint or not.
  5. Pour rice on to a baking sheet and let dry.
  6. Once dry pour in to a lager Tupperware or something similar. We used the cover from a sheet birthday cake.
  7. Add toys and cups and have fun.
This is brown minute rice.
This is white rice.

Our Experience:

It was supposed to be glow rice but it didn't glow very well. It might have glowed better if i added more paint but i wanted to save some paint for other projects. I added too much water in the first bag of white rice i made and i had to soak it out with a paper towel, so be careful with that part. Besides that Haven had a blast with it. He buried his cars, poured rice in and out of different containers, he added googly eyes and raced his cars in it. Nearing the end of the play session he thought he wanted  to out his feet inside it to see what it felt like. He liked the feeling and decided it would be a good idea to just sit in it. Made me wish i had a bigger container and more rice. Definitely going to that one days sounds fun. I saved the rice and put it up for another day because this activity was a success.